はじめに
DreamHanksのMOONです。
前回は簡単なログイン画面を作り、バリデーションチェックをしました。
7. 【Android/Kotlin】バリデーションチェック
今回はWebViewというViewについて説明していきます。
WebViewとは
ウェブ アプリケーション(またはウェブページ)を
クライアント アプリケーションの一部として提供する場合は、WebView を使用できます。
この意味は簡単にアプリの画面上にウェブページを表示することができます。
WebView追加
権限設定
ウェブビューでウェブページを表示するためには、まず、そのアプリのインターネットアクセス権限を設定する必要があります。
・AndroidManifestファイル修正
|
1 2 3 4 5 6 7 8 9 10 11 12 13 14 15 16 17 18 19 20 21 22 23 24 25 26 27 |
<?xml version="1.0" encoding="utf-8"?> <manifest xmlns:android="http://schemas.android.com/apk/res/android" package="com.example.practiceapplication"> <application android:allowBackup="true" android:icon="@mipmap/ic_launcher" android:label="@string/app_name" android:roundIcon="@mipmap/ic_launcher_round" android:supportsRtl="true" android:theme="@style/AppTheme"> <activity android:name=".SpinnerActivity"></activity> <activity android:name=".ListViewActivity"> </activity> <activity android:name=".WebViewActivity"> <intent-filter> <action android:name="android.intent.action.MAIN" /> <category android:name="android.intent.category.LAUNCHER" /> </intent-filter> </activity> <activity android:name=".IntentTestActivity" /> <activity android:name=".MainActivity"></activity> </application> <uses-permission android:name="android.permission.INTERNET" /> </manifest> |
|
1 |
<uses-permission android:name="android.permission.INTERNET" /> |
AndroidManifestファイルに上記のコードを追加
このコードはインターネットにアクセスするための権限設定
Activity作成
|
1 2 3 4 5 6 7 8 9 10 11 12 13 14 15 16 17 18 19 20 21 22 23 24 25 26 27 28 29 |
package com.example.practiceapplication import android.content.Intent import androidx.appcompat.app.AppCompatActivity import android.os.Bundle import android.webkit.WebView import android.webkit.WebViewClient import android.widget.Button import android.widget.EditText import android.widget.TextView class WebViewActivity : AppCompatActivity() { override fun onCreate(savedInstanceState: Bundle?) { super.onCreate(savedInstanceState) setContentView(R.layout.activity_webview) val url_et = findViewById<EditText>(R.id.url_et) //URLのEditText(入力エリア) val search_btn = findViewById<Button>(R.id.search_btn) //検索ボタン val webView = findViewById<WebView>(R.id.test_wv) //ウェブビュー //検索ボタンのクリックイベントを設定 search_btn.setOnClickListener { //ウェブページがクロム(または、その他の検索アプリ)に開かなくてアプリのwebviewに開かるような設定 webView.webViewClient = object : WebViewClient(){} //webviewに入力された値に対するウェブページを表示 webView.loadUrl(url_et.text.toString()) } } } |
xml作成
|
1 2 3 4 5 6 7 8 9 10 11 12 13 14 15 16 17 18 19 20 21 22 23 24 25 26 27 28 29 |
<?xml version="1.0" encoding="utf-8"?> <LinearLayout xmlns:android="http://schemas.android.com/apk/res/android" xmlns:app="http://schemas.android.com/apk/res-auto" xmlns:tools="http://schemas.android.com/tools" android:layout_width="match_parent" android:layout_height="match_parent" android:orientation="vertical" tools:context=".WebViewActivity" android:gravity="center"> <WebView android:layout_width="match_parent" android:layout_height="300dp" android:id="@+id/test_wv" android:layout_weight="1" /> <EditText android:layout_width="300dp" android:layout_height="wrap_content" android:id="@+id/url_et" android:inputType="text" android:hint="URLを入力してください"/> <Button android:layout_width="wrap_content" android:layout_height="wrap_content" android:id="@+id/search_btn" android:text="検索"/> </LinearLayout> |
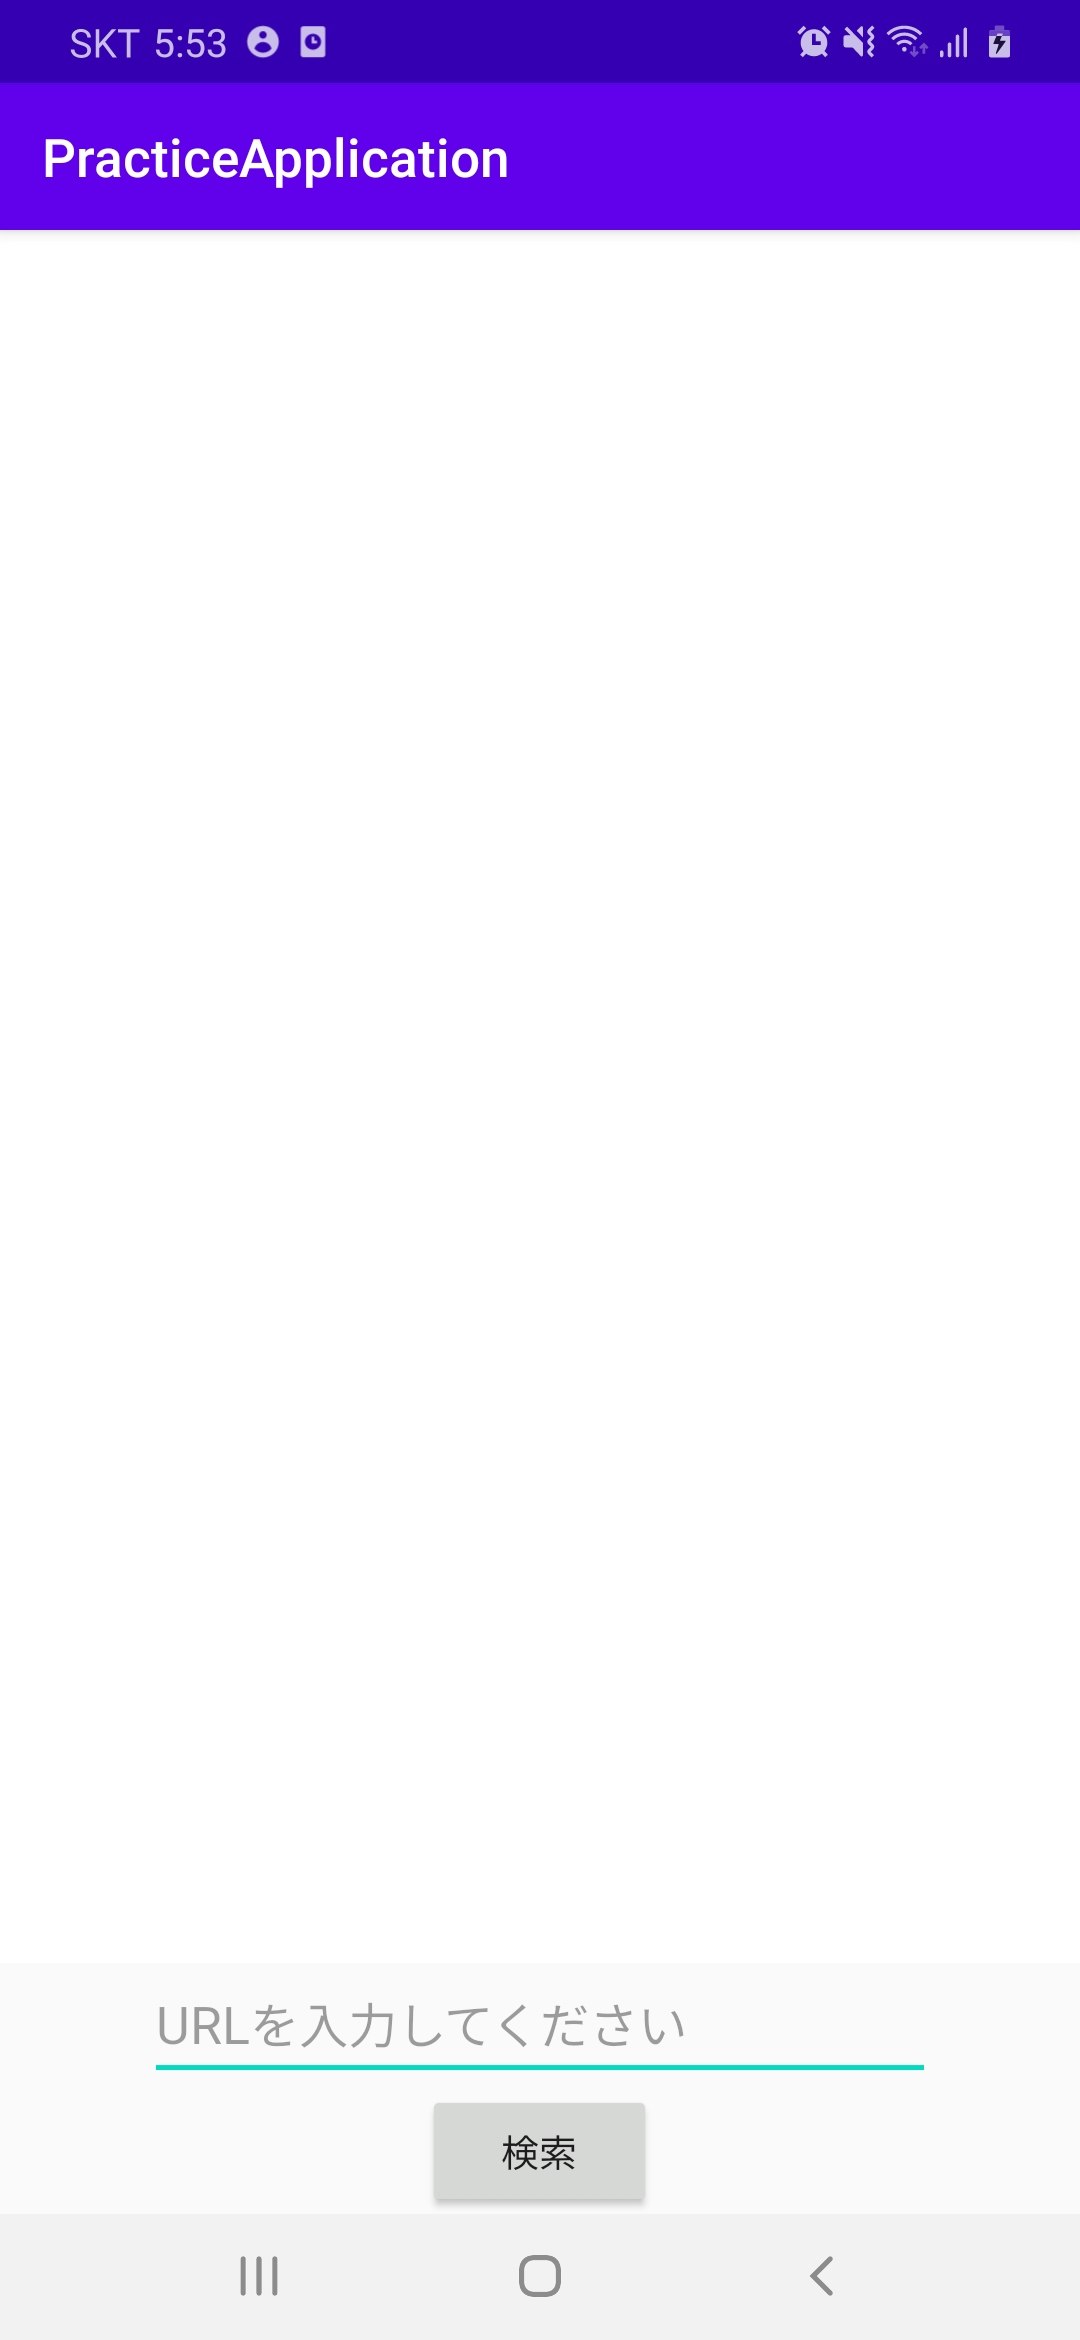
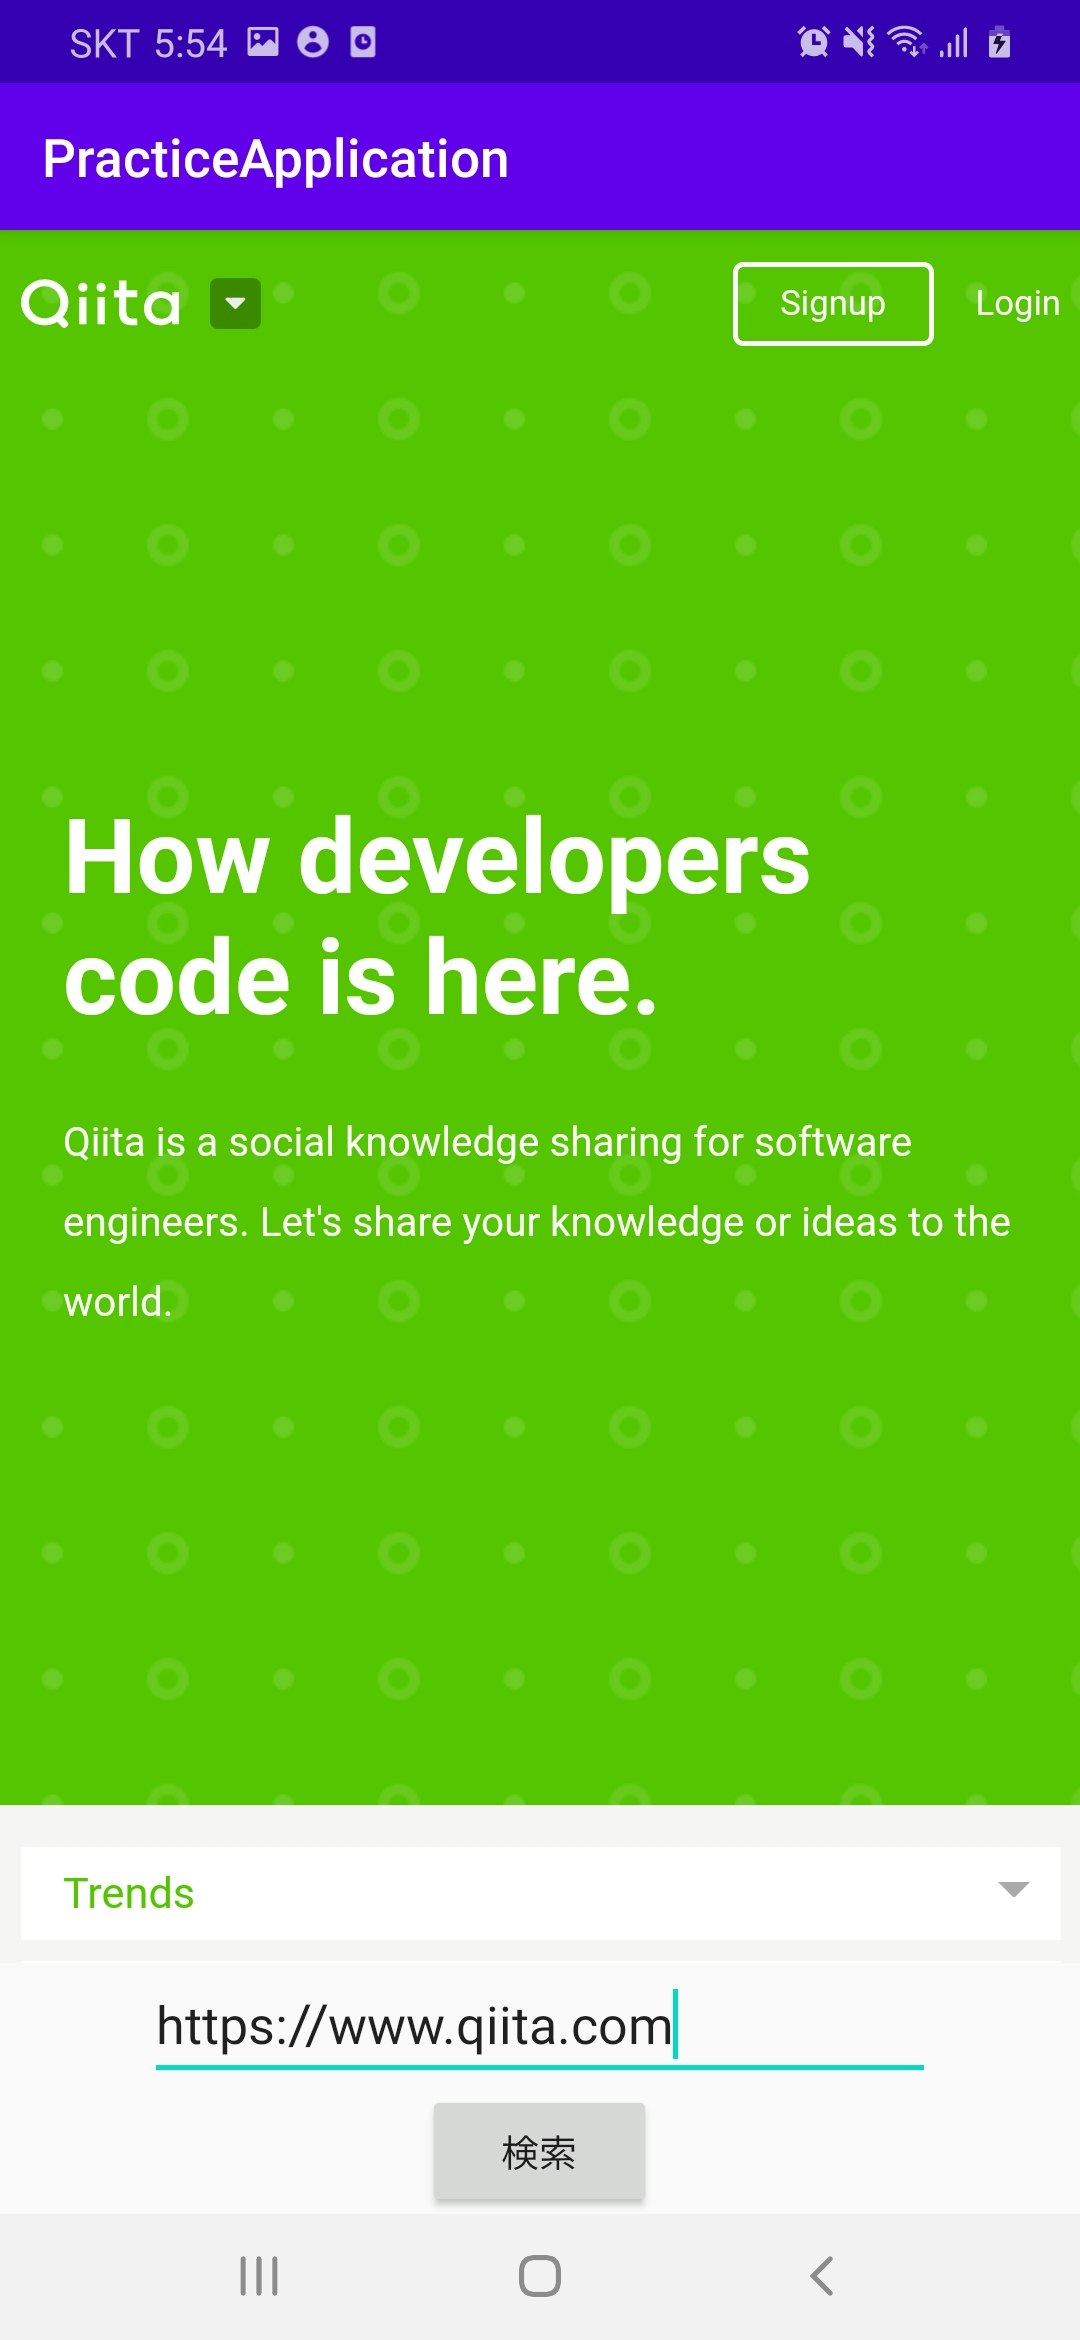
アプリ起動
終わりに
今回はWebViewというViewについて説明しました。
次回は動的にViewを追加する方法について説明します。
9. 【Android/Kotlin】動的にView追加


コメント