はじめに
皆さん。こんにちは!
DreamHanksのエルムです。
今回はAWS Amplifyのセットアップについて説明していきます。
前回の記事は【第一回】AWS Amplifyとはです。
AWS Amplifyのセットアップ
インストール
|
1 |
$ npm install -g @aws-amplify/cli |
AWSアカウントの紐付け
|
1 |
$ amplify configure |
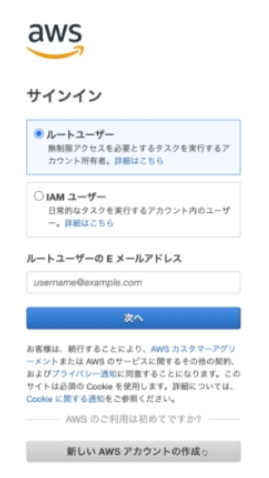
Amplifyが使用するIAMユーザーを新規作成するためにブラウザを開く
|
1 2 3 |
Sign in to your AWS administrator account: https://console.aws.amazon.com/ Press Enter to continue |
ログイン、もしくはサインインする

リージョンの選択
|
1 2 3 4 5 6 7 8 9 10 |
Specify the AWS Region ? region: (Use arrow keys) us-east-1 us-east-2 us-west-2 eu-west-1 eu-central-1 ❯ ap-west-1 ap-east-1 (Move up and down to reveal more choices) |
任意のIAM ユーザーネームの入力します
|
1 2 3 4 |
Specify the AWS Region ? region: ap-north-1 Specify the username of the new IAM user: ? user name: (amplify-dreamHanks) |
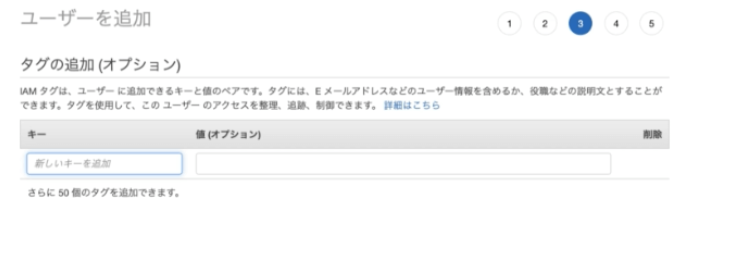
・ユーザー詳細設定をします

・AdministratorAccessを選択する

特に何もせずにスキップ

ユーザーの作成をクリック

ユーザーの作成ができました

ここまでの作業で、IAMユーザーの作成が完了しました。再度ターミナルに戻ります。
|
1 2 3 4 |
? user name: amplify-dreamHanks Complete the user creation using the AWS console https://console.aws.amazon.com/iam/home? Press Enter to continue |
AWSコンソールからアクセスIDをコピーして貼り付けます。
|
1 2 |
Enter the access key of the newly created user: ? accessKeyId: (<YOUR_ACCESS_KEY_ID>) |
次に、AWSコンソールからシークレットキーをコピーして貼り付けます。
|
1 2 3 |
Enter the access key of the newly created user: ? accessKeyId: ************** ? secretAccessKey: (<YOUR_SECRET_ACCESS_KEY>) |
AWSプロファイル情報の名前を選択します。
|
1 2 |
This would update/create the AWS Profile in your local machine ? Profile Name: (default) |
AWSアカウント設定が完了
|
1 |
Successfully set up the new user. |
AWSバックエンドのセットアップ
アプリケーションで必要なリソースをセットアップします。
|
1 |
Successfully set up the new user. |
終わりに
今回の記事は以上になります。
次回はAmplifyによる認証を学びましょう。
ご覧いただきありがとうございます。


コメント