はじめに
DreamHanksの松下です。今回はservlet-context.xmlの解説をしていきます。
contextファイルとは
Springフレームワークを使ってアプリ開発をする際のプロジェクトの構成ファイルです。
ビルドするときにcontextファイルの中のbeanオブジェクトを使い
そのオブジェクト内に設定されているvalue値から、何かと何かを参照できるようにする(繋げる)役割があります。
具体例としては以下のものが挙げられます。
・データベースの参照・接続
・Serviceクラスからdaoのインターフェースメソッドを呼んだ際に
Mapperクラスの記述されているsql文を参照する。
・ControllerクラスとJSPファイルの参照
root-context.xmlとservlet-context.xmlの違いとは
root-context.xmlはビジネスロジックに関連するものを定義するためのものです。
例)データベースの参照・接続にかかわるもの
servlet-context.xmlはViewに関連するものを定義するためのものです。
例)ControllerクラスとJSPファイルの参照
そこに計算ロジックやDBとのやり取りをするメソッドを共通部品のように作成します。
それらをControllerクラスで呼び出すというように
View側とビジネスロジック側で分けて開発していきます。
サーブレットとは
クライアントからリクエストを受けて、それを動的にレスポンスするもの
SpringMVCモデルでサーブレットの役割を行っているのはControllerです。
servlet-context.xmlの詳しい解説
|
1 2 3 4 5 6 7 8 9 10 11 12 13 14 15 16 17 18 19 20 21 22 23 24 25 26 |
<?xml version="1.0" encoding="UTF-8"?> <beans:beans xmlns="http://www.springframework.org/schema/mvc" xmlns:xsi="http://www.w3.org/2001/XMLSchema-instance" xmlns:beans="http://www.springframework.org/schema/beans" xmlns:context="http://www.springframework.org/schema/context" xsi:schemaLocation="http://www.springframework.org/schema/mvc https://www.springframework.org/schema/mvc/spring-mvc.xsd http://www.springframework.org/schema/beans https://www.springframework.org/schema/beans/spring-beans.xsd http://www.springframework.org/schema/context https://www.springframework.org/schema/context/spring-context.xsd"> <!-- DispatcherServlet Context: defines this servlet's request-processing infrastructure --> <!-- Enables the Spring MVC @Controller programming model --> <annotation-driven /> <!-- Handles HTTP GET requests for /resources/** by efficiently serving up static resources in the ${webappRoot}/resources directory --> <resources mapping="/resources/**" location="/resources/" /> <!-- Resolves views selected for rendering by @Controllers to .jsp resources in the /WEB-INF/views directory --> <beans:bean class="org.springframework.web.servlet.view.InternalResourceViewResolver"> <beans:property name="prefix" value="/WEB-INF/views/" /> <beans:property name="suffix" value=".jsp" /> </beans:bean> <context:component-scan base-package="com.dreamhanks.workmanager" /> </beans:beans> |
サーバーにスキャン(認識)させる
|
1 |
<context:component-scan base-package="com.dreamhanks.workmanager" /> |
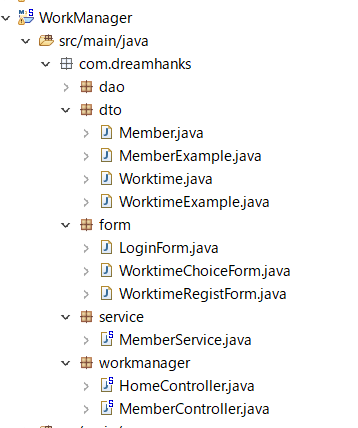
上記のソースコードは「com.dreamhanks」以下のソースコードをサーバーにスキャン(認識)させるための記述です。
「com.dreamhanks」以下のソースコードに何があるのか?
Controllerクラスがあります。
リソースの位置を特定する
|
1 2 |
<!-- Handles HTTP GET requests for /resources/** by efficiently serving up static resources in the ${webappRoot}/resources directory --> <resources mapping="/resources/**" location="/resources/" /> |
css,javascrypt,font,imgなど、viewと関連するリソースをどこにあるかどうかを特定するための記述です。
JSPの接頭語、接尾語を省略する
|
1 2 3 4 5 |
<!-- Resolves views selected for rendering by @Controllers to .jsp resources in the /WEB-INF/views directory --> <beans:bean class="org.springframework.web.servlet.view.InternalResourceViewResolver"> <beans:property name="prefix" value="/WEB-INF/views/" /> <beans:property name="suffix" value=".jsp" /> </beans:bean> |
上記の記述によってControllerで
下記のようにJSPをreturnするときに、パスやjspの拡張子を省くことができる。
|
1 2 3 4 5 6 7 |
@RequestMapping(value = "/login") public String initLogin(LoginForm loginForm, Model model) { // model.addAttribute("loginForm", new LoginForm()); return "login"; } |


コメント