
はじめに
DreamHanksのMOONです。
前回は「CalendarView」というヴューについて説明しました。
27. 【Android/Kotlin】カレンダーヴュー(CalendarView)
今回は「FrameLayout」というLayoutについて説明していきます。
FrameLayoutとは
画像の上に他のビューを重ねて出力したい場合があると思います。
そのときに使用するレイアウトがFrameLayoutです。

画像の上にテキスト、ボタンが重ねて出力
FrameLayoutを適用
Activityを作成
FrameLayoutActivity.kt
|
1 2 3 4 5 6 7 8 9 10 11 12 13 |
package com.example.practiceapplication import androidx.appcompat.app.AppCompatActivity import android.os.Bundle class FrameLayoutActivity : AppCompatActivity() { override fun onCreate(savedInstanceState: Bundle?) { super.onCreate(savedInstanceState) setContentView(R.layout.activity_framelayout) } } |
レイアウトのxmlファイルを作成
activity_frameLayout.xml
|
1 2 3 4 5 6 7 8 9 10 11 12 13 14 15 16 17 18 19 20 21 22 23 24 25 26 27 28 29 30 31 32 33 34 35 36 37 38 39 40 41 42 43 44 45 46 47 48 49 50 51 52 53 54 55 56 57 58 59 60 61 62 63 64 65 66 67 68 69 70 71 72 |
<?xml version="1.0" encoding="utf-8"?> <LinearLayout xmlns:android="http://schemas.android.com/apk/res/android" xmlns:app="http://schemas.android.com/apk/res-auto" xmlns:tools="http://schemas.android.com/tools" android:layout_width="match_parent" android:layout_height="match_parent" android:orientation="vertical" tools:context=".FrameLayoutActivity" android:gravity="center"> <FrameLayout android:layout_width="wrap_content" android:layout_height="wrap_content"> <ImageView android:layout_width="match_parent" android:layout_height="match_parent" android:layout_gravity="center" android:src="@drawable/ic_launcher_background" /> <LinearLayout android:layout_width="wrap_content" android:layout_height="wrap_content" android:orientation="vertical" android:layout_gravity="center"> <TextView android:layout_width="wrap_content" android:layout_height="wrap_content" android:text="画像1" android:textSize="20dp" android:layout_gravity="center" android:textColor="#000000" /> <Button android:layout_width="wrap_content" android:layout_height="wrap_content" android:text="画像1"/> </LinearLayout> </FrameLayout> <FrameLayout android:layout_width="wrap_content" android:layout_height="wrap_content"> <ImageView android:layout_width="match_parent" android:layout_height="200dp" android:layout_gravity="center" android:src="@drawable/dreamhanks"/> <LinearLayout android:layout_width="wrap_content" android:layout_height="wrap_content" android:orientation="vertical" android:layout_gravity="center"> <TextView android:layout_width="wrap_content" android:layout_height="wrap_content" android:text="画像2" android:id="@+id/stampImageNumber" android:textSize="20dp" android:layout_gravity="center" android:textColor="#000000" /> <Button android:layout_width="wrap_content" android:layout_height="wrap_content" android:text="画像2"/> </LinearLayout> </FrameLayout> </LinearLayout> |
frameLayoutの中のビューを順番に追加すると、重ねて出力されます。
アプリ起動
・結果画像
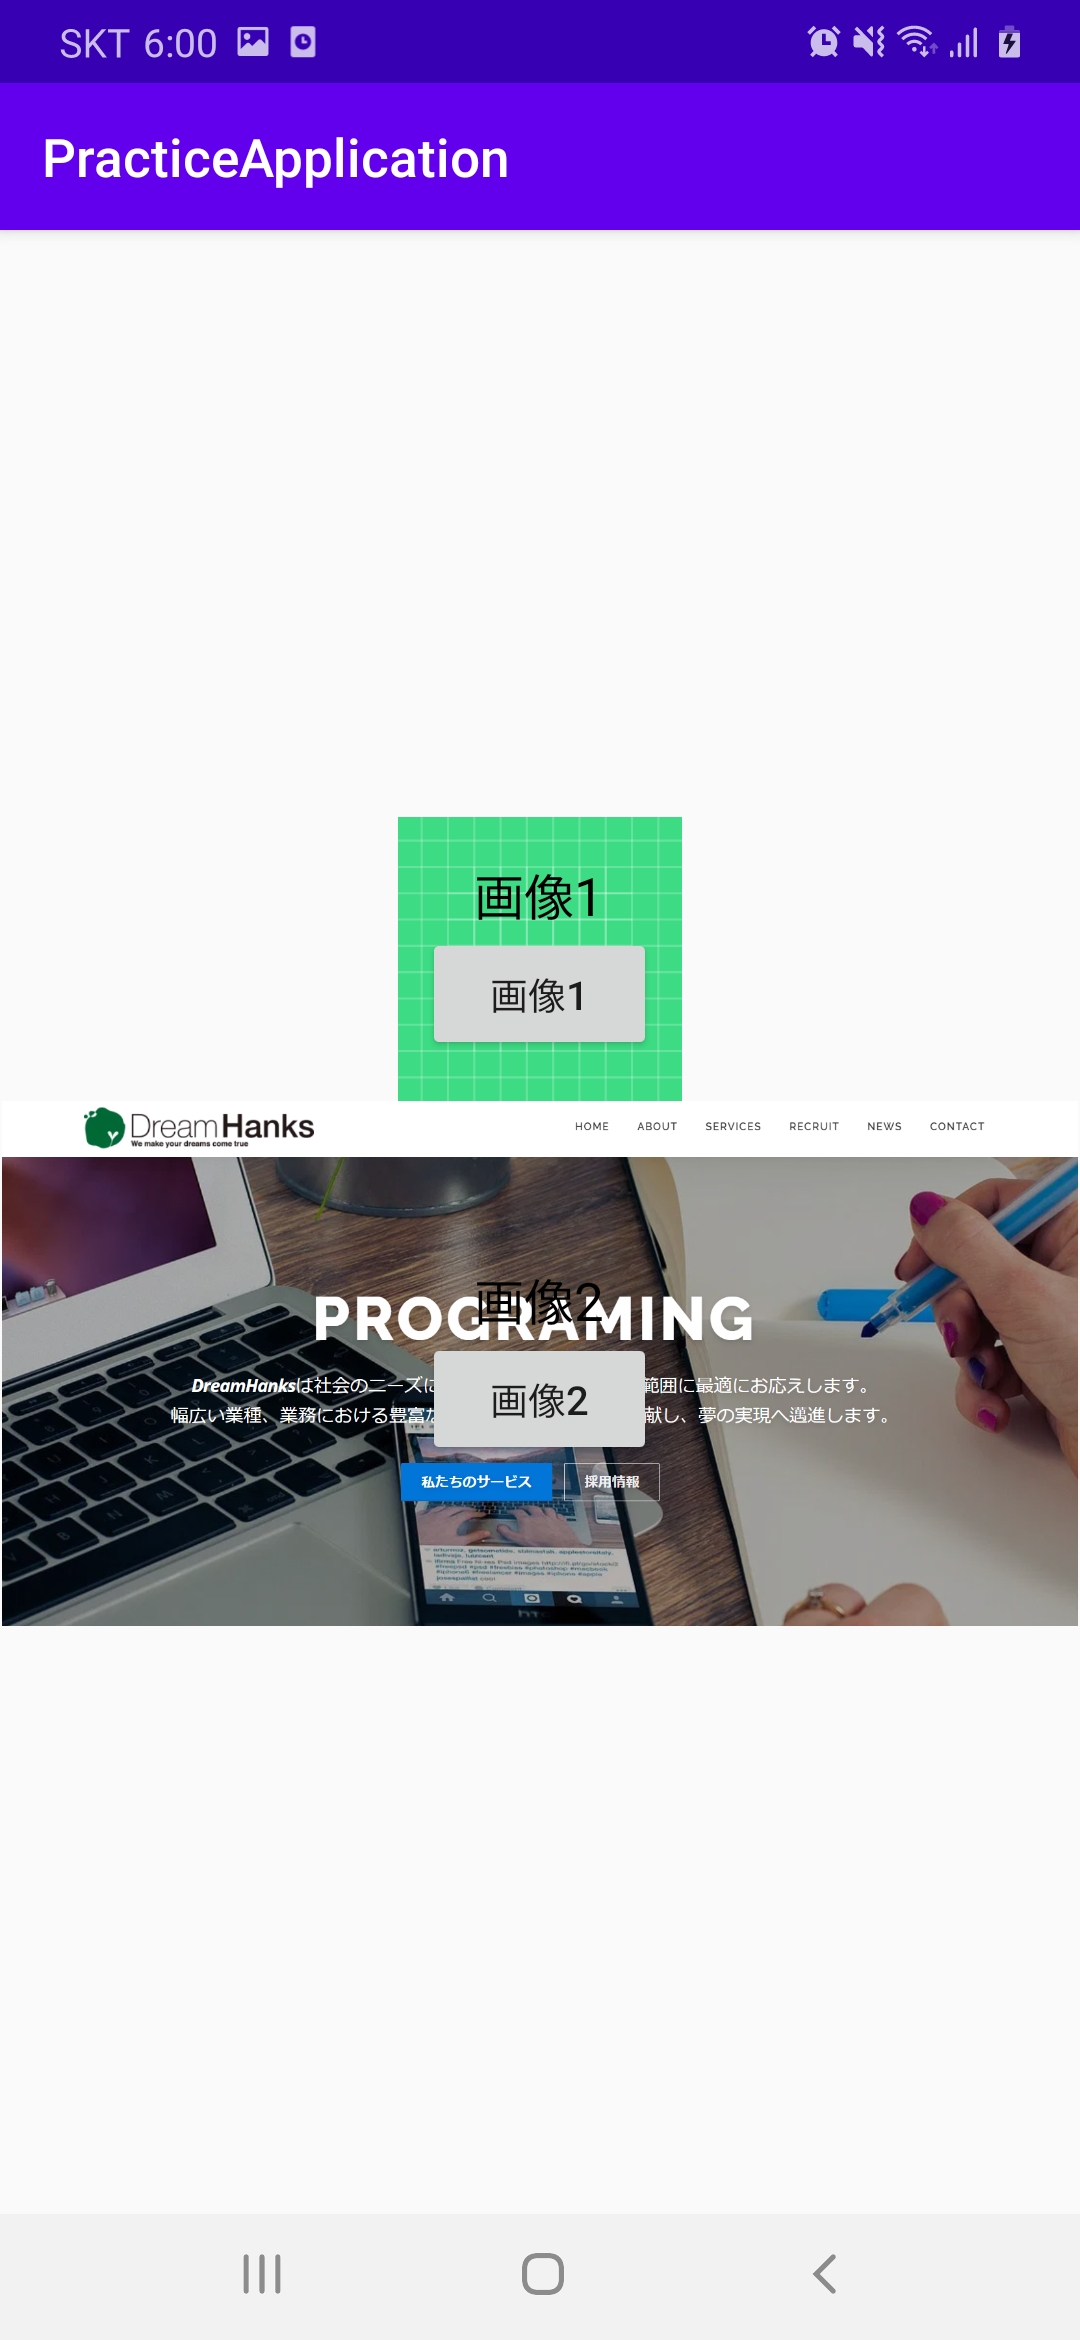
画像1と画像2にテキスト、ボタンが重ねて出力されます。
終わりに
今回は「FrameLayout」というLayoutについて説明しました。
次回はToolBarにメニューを追加することについて説明していきます。

コメント