はじめに
皆さん。こんにちは!
DreamHanksのエルムです。
今回はFacebookソーシャルログインの導入方法について説明していきます。
前回の記事はサインアップ、サインイン、サインアウトです。
Auth Providerの設定
AmplifyでのOAuthサポートは、Cognito User Poolsを使用し、ソーシャルプロバイダとのフェデレーションをサポートしています。ソーシャルプロバイダは、ログイン後に自動的に対応するユーザーをUser Poolに作成します。OIDCトークンは、アプリケーションがこのプロセスを完了した後、アプリで利用可能になります。
- Facebookで開発者アカウントを作成します。
- Facebookの認証情報を使ってサインインします。
- My Apps メニューから「Add New App」を選択します。
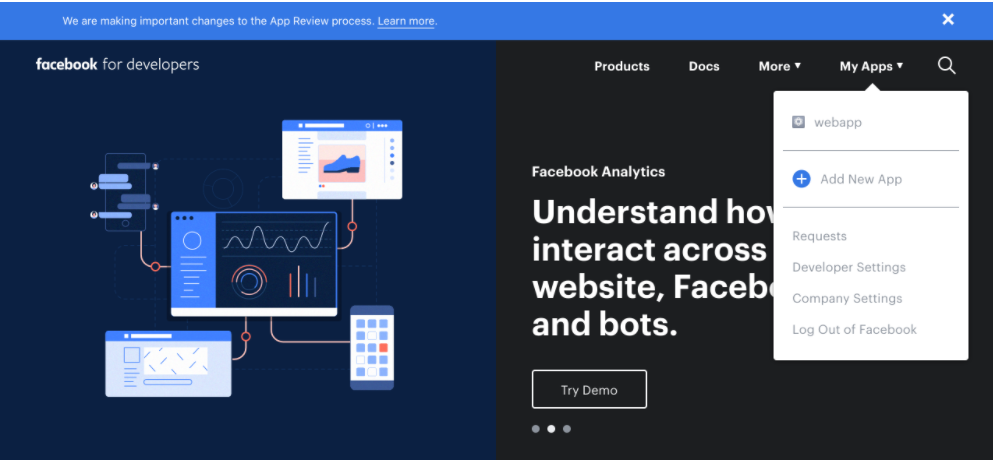
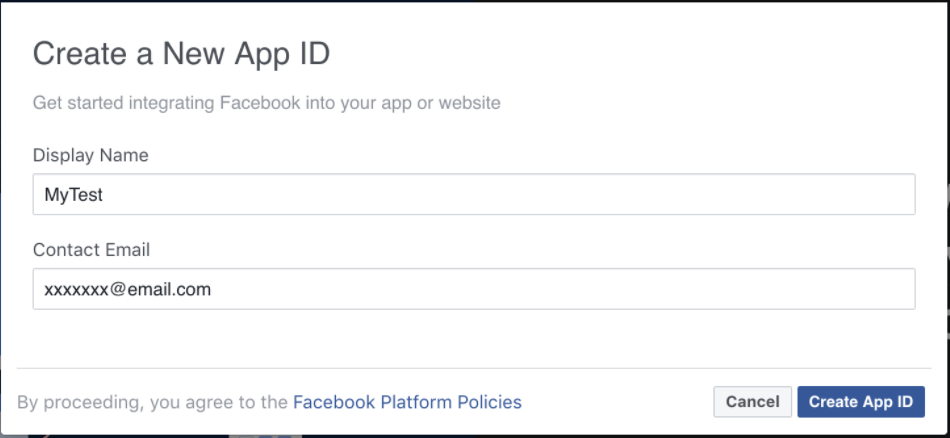
4. Facebookアプリに名前をつけ、「Create App ID」を選択します。
5. 左のナビゲーションバーで、「設定」を選択し、「基本」を選択します。
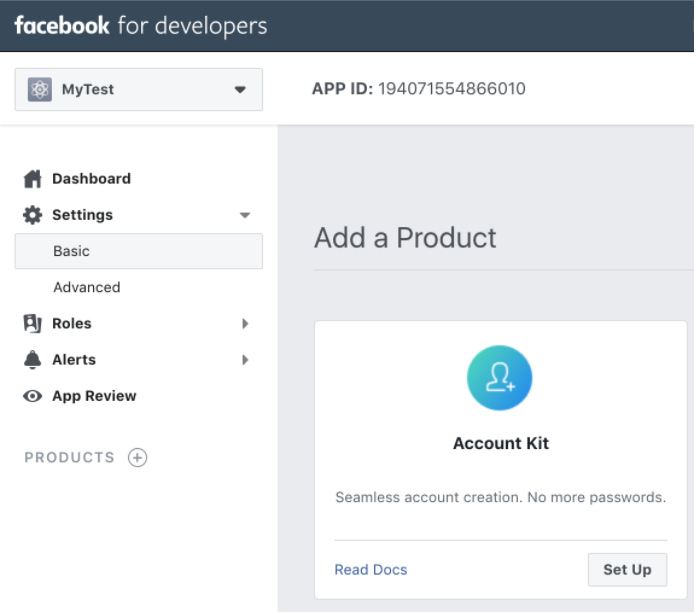
App IDとApp Secretを覚えておいてください。これらは、次のセクションのCLIフローで使用します。
Auth Categoryの設定
ソーシャル・プロバイダーの設定が完了したら、プロジェクトのルート・フォルダーで以下を実行します。
|
1 |
amplify add auth ## すでに設定されている場合は、"amplify update auth" |
Default configuration with Social Provider (Federation)” を選択します。
|
1 2 3 4 5 |
Do you want to use the default authentication and security configuration? Default configuration ❯ Default configuration with Social Provider (Federation) Manual configuration I want to learn more. |
URIのリダイレクト
Sign in Redirect URI(s)の入力では、ローカル開発用のURIと本番用のURIを1つずつ入れることができます。例: http://localhost:3000/ が開発、 https://www.example.com/ が本番。Sign out redirect URI(s)についても同様です。
注意:複数のリダイレクトURI入力がある場合は、Amplifyプロジェクトを設定するところで、両方を処理する必要があります。
例えば、以下のように。
|
1 2 3 4 5 6 7 8 9 10 11 12 13 14 15 16 17 18 19 20 21 22 23 24 25 26 27 28 29 30 31 32 33 |
import awsConfig from './aws-exports'; const isLocalhost = Boolean( window.location.hostname === "localhost" || // [::1]は、IPv6のローカルホストアドレスです。 window.location.hostname === "[::1]" || // IPv4では127.0.0.1/8がlocalhostとなります。 window.location.hostname.match( /^127(?:\.(?:25[0-5]|2[0-4][0-9]|[01]?[0-9][0-9]?)){3}$/ ) ); // 2つのリダイレクトURIがあり、1つ目がlocalhost用、2つ目がproduction用であるとすると const [ localRedirectSignIn, productionRedirectSignIn, ] = awsConfig.oauth.redirectSignIn.split(","); const [ localRedirectSignOut, productionRedirectSignOut, ] = awsConfig.oauth.redirectSignOut.split(","); const updatedAwsConfig = { ...awsConfig, oauth: { ...awsConfig.oauth, redirectSignIn: isLocalhost ? localRedirectSignIn : productionRedirectSignIn, redirectSignOut: isLocalhost ? localRedirectSignOut : productionRedirectSignOut, } } Amplify.configure(updatedAwsConfig); |
React Native – URIのリダイレクト
React Nativeアプリケーションでは、ローカルでのテストやアプリストアへの公開の前に、アプリケーションのカスタムURLスキームを定義する必要があります。
これはExpoやバニラのReact Nativeでは異なります。URLスキームの名前にmyappを使っていると仮定して、(あるいは選んだフレンドリーな名前でもよいのですが)、これらのURLをサインイン・リダイレクトURI(s)および/またはサインアウト・リダイレクトURI(s)の入力として使用することになります。
URIは以下のようになります:
myapp://exp://127.0.0.1:19000/--/
React Native – iOS – Info.plist
|
1 2 3 4 5 6 7 8 9 10 11 12 13 14 15 16 |
<plist version="1.0"> <dict> <key>CFBundleURLTypes</key> <array> <dict> <key>CFBundleURLSchemes</key> <array> <string>myapp</string> </array> </dict> </array> <!-- ... --> </dict> |
Sign in with AppleはまだCLIに追加されていないので、以下の手順で有効にしてください。
完了したら、amplify pushを実行して変更内容を公開します。完了すると、自動生成されたWeb UI用のURLが表示されます。
このURLを認証機関に通知する必要があります:
- Facebookの認証情報を使ってサインインします。
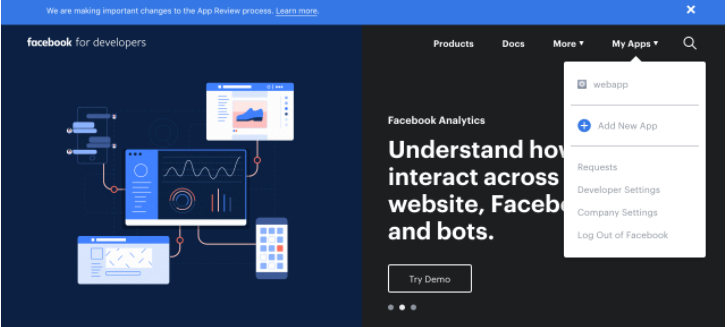
- My Appsメニューから「Your App」を選択します。
- 左のナビゲーションバーで、「設定」を選択し、「基本」を選択します。
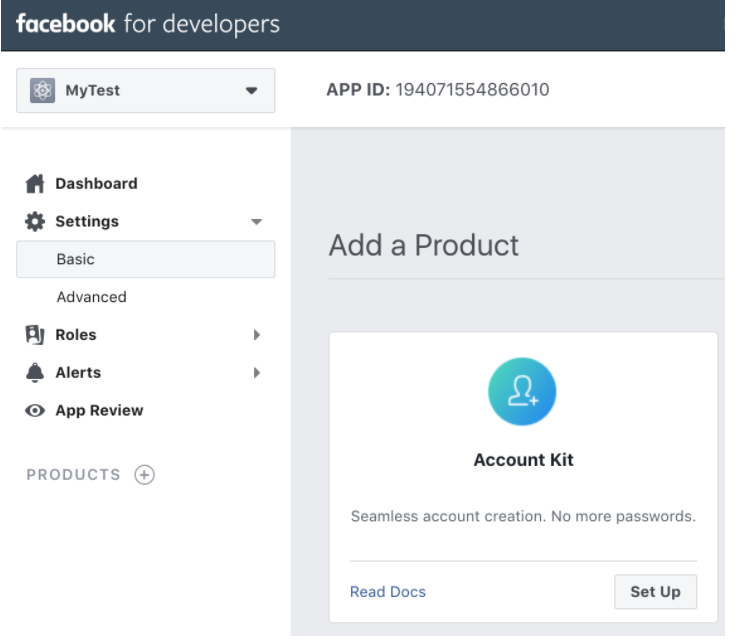
- ページ下部の「Add Platform」を選択し、「ウェブサイト」を選択します。
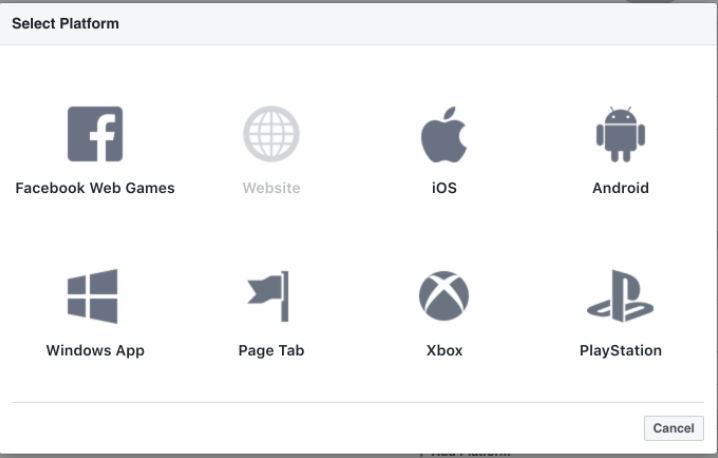
- Website “の “Site URL “には、ユーザープールのドメインと/oauth2/idpresponseエンドポイントを入力します。

- 変更を保存します。
- App Domainsにユーザープールのドメインを入力します。
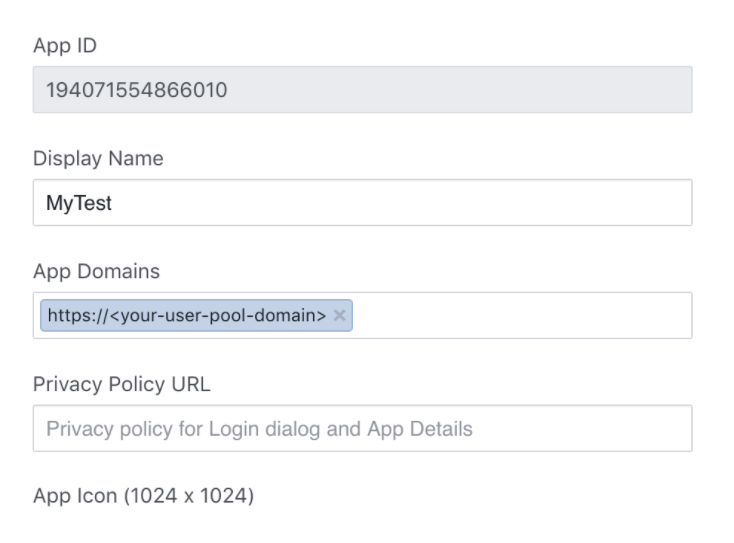
- 変更を保存します。
- ナビゲーションバーから「製品」を選択し、「Facebookログインから設定」を選択します。
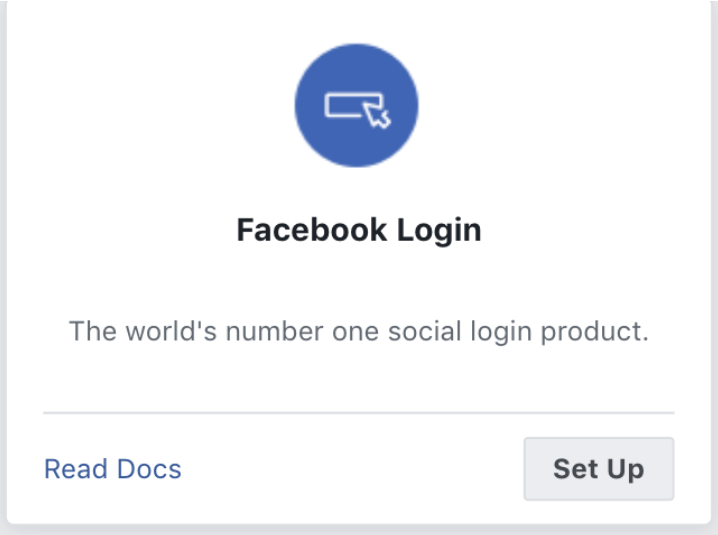
- ナビゲーションバーから「Facebookログイン」を選択し、「設定」を選択します。
- リダイレクトURLを「Valid OAuth Redirect URIs」に入力します。ユーザープールのドメインと/oauth2/idpresponseエンドポイントで構成されています。
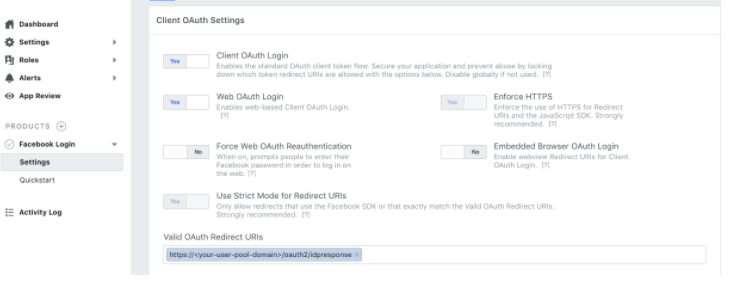
- 変更を保存します。
フロントエンドの設定
OAuthエンドポイントを設定したら、Auth.federatedSignIn()を使って、そのエンドポイントやHosted UIを使うことができます。
LoginWithAmazon、Facebook、Google、またはSignInWithAppleを渡すと、以下のReactの例に示すように、ホストされたUIをバイパスして、ソーシャルプロバイダと直ちに連携します。
カスタムステートを追加したい場合は、文字列(例:Auth.federatedSignIn({ customState: ‘xyz’ }) )の値を渡し、Hub経由でカスタムステートをリッスンすることで追加できます。
|
1 2 3 4 5 6 7 8 9 10 11 12 13 14 15 16 17 18 19 20 21 22 23 24 25 26 27 28 29 30 31 32 33 34 35 36 37 38 |
import Amplify, { Auth, Hub } from 'aws-amplify'; import awsconfig from './aws-exports'; Amplify.configure(awsconfig); class App extends Component { state = { user: null, customState: null }; componentDidMount() { Hub.listen("auth", ({ payload: { event, data } }) => { switch (event) { case "signIn": this.setState({ user: data }); break; case "signOut": this.setState({ user: null }); break; case "customOAuthState": this.setState({ customState: data }); } }); Auth.currentAuthenticatedUser() .then(user => this.setState({ user })) .catch(() => console.log("Not signed in")); } render() { const { user } = this.state; return ( <div className="App"> <button onClick={() => Auth.federatedSignIn({provider: 'Facebook'})}>Open Facebook</button> <button onClick={() => Auth.federatedSignIn()}>Open Hosted UI</button> <button onClick={() => Auth.signOut()}>Sign Out {user.getUsername()}</button> </div> ); } } |
Amplify Consoleへのデプロイメント
フロントエンドとバックエンドの継続的なデプロイで、アプリをAmplify Consoleにデプロイすること。
サンプル
|
1 2 3 4 5 6 7 8 9 10 11 12 13 14 15 16 17 18 19 20 21 22 23 24 25 26 27 28 29 30 31 32 33 34 35 36 37 38 39 40 41 42 43 44 45 46 47 48 |
import React, { useEffect, useState } from 'react'; import Amplify, { Auth, Hub } from 'aws-amplify'; import awsconfig from './aws-exports'; Amplify.configure(awsconfig); function App() { const [user, setUser] = useState(null); useEffect(() => { Hub.listen('auth', ({ payload: { event, data } }) => { switch (event) { case 'signIn': case 'cognitoHostedUI': getUser().then(userData => setUser(userData)); break; case 'signOut': setUser(null); break; case 'signIn_failure': case 'cognitoHostedUI_failure': console.log('Sign in failure', data); break; } }); getUser().then(userData => setUser(userData)); }, []); function getUser() { return Auth.currentAuthenticatedUser() .then(userData => userData) .catch(() => console.log('Not signed in')); } return ( <div> <p>User: {user ? JSON.stringify(user.attributes) : 'None'}</p> {user ? ( <button onClick={() => Auth.signOut()}>Sign Out</button> ) : ( <button onClick={() => Auth.federatedSignIn()}>Federated Sign In</button> )} </div> ); } export default App; |
終わりに
今回の記事は以上になります。
次回は[第7回] Multi-factor 認証 (Multi-factor authentication)を学びましょう。
ご覧いただきありがとうございます。


コメント