はじめに
DreamHanksのMOONです。
前回はRecyclerViewについて説明しました。
20. 【Android/Kotlin】RecyclerView
開発を進めていくと、イメージをウェブサーバーからロードする必要が出てきます。
今回はGlideというライブラリについて説明していきます。
Glideとは

・Googleで公開したイメージライブラリーです。
・最も性能の良いイメージローディングライブラリーとしても知られています。
・基本的に写真のロードや動画、gifファイルのロードまで支援します。
設定作業
・Gradleに「Glide」のライブラリを追加
・Activity、レイアウトのxmlを設定
Gradleに「Glide」のライブラリを追加
「build.gradle」のdependenciesに下記のコードを追加
|
1 2 |
implementation 'com.github.bumptech.glide:glide:4.10.0' annotationProcessor 'com.github.bumptech.glide:compiler:4.10.0' |
Activity、レイアウトのxmlを設定
GlideActivity.kt
|
1 2 3 4 5 6 7 8 9 10 11 12 13 14 15 16 17 18 19 20 21 22 23 24 25 26 |
package com.example.practiceapplication import androidx.appcompat.app.AppCompatActivity import android.os.Bundle import android.widget.Button import android.widget.ImageView import com.bumptech.glide.Glide class GlideActivity : AppCompatActivity() { override fun onCreate(savedInstanceState: Bundle?) { super.onCreate(savedInstanceState) setContentView(R.layout.activity_glide) val load_btn = findViewById<Button>(R.id.load_btn) //ロードボタン val glide_iv = findViewById<ImageView>(R.id.glide_iv) //イメージヴュー //ロードボタンのクリックイベントを設定 load_btn.setOnClickListener { //GlideでImageViewに設定 Glide.with(this) .load("https://i2.wp.com/dreamhanks.com/wp-content/uploads/2017/01/logo.png?fit=283%2C50") // ロードしたいイメージのURLを入力 .placeholder(R.drawable.dreamhanks) //イメージをロード中に見せるイメージ設定 .into(glide_iv) } } } |
Glideの主要メソッドについて見てみます。
①「with」:ContextやActivityについて設定
②「load」:実際にロードしたいイメージのURLを設定
③「placeholder」:イメージをロード中に見せるイメージを設定(なくてもいい)
④「into」:イメージを適用する「ImageView」を設定
activity_glide.xml
|
1 2 3 4 5 6 7 8 9 10 11 12 13 14 15 16 17 18 19 20 21 22 23 |
<?xml version="1.0" encoding="utf-8"?> <LinearLayout xmlns:android="http://schemas.android.com/apk/res/android" xmlns:app="http://schemas.android.com/apk/res-auto" xmlns:tools="http://schemas.android.com/tools" android:layout_width="match_parent" android:layout_height="match_parent" android:orientation="vertical" tools:context=".GlideActivity" android:gravity="center"> <ImageView android:layout_width="match_parent" android:layout_height="300dp" android:id="@+id/glide_iv" android:layout_weight="1" /> <Button android:layout_width="wrap_content" android:layout_height="wrap_content" android:id="@+id/load_btn" android:text="ロード"/> </LinearLayout> |
アプリ起動
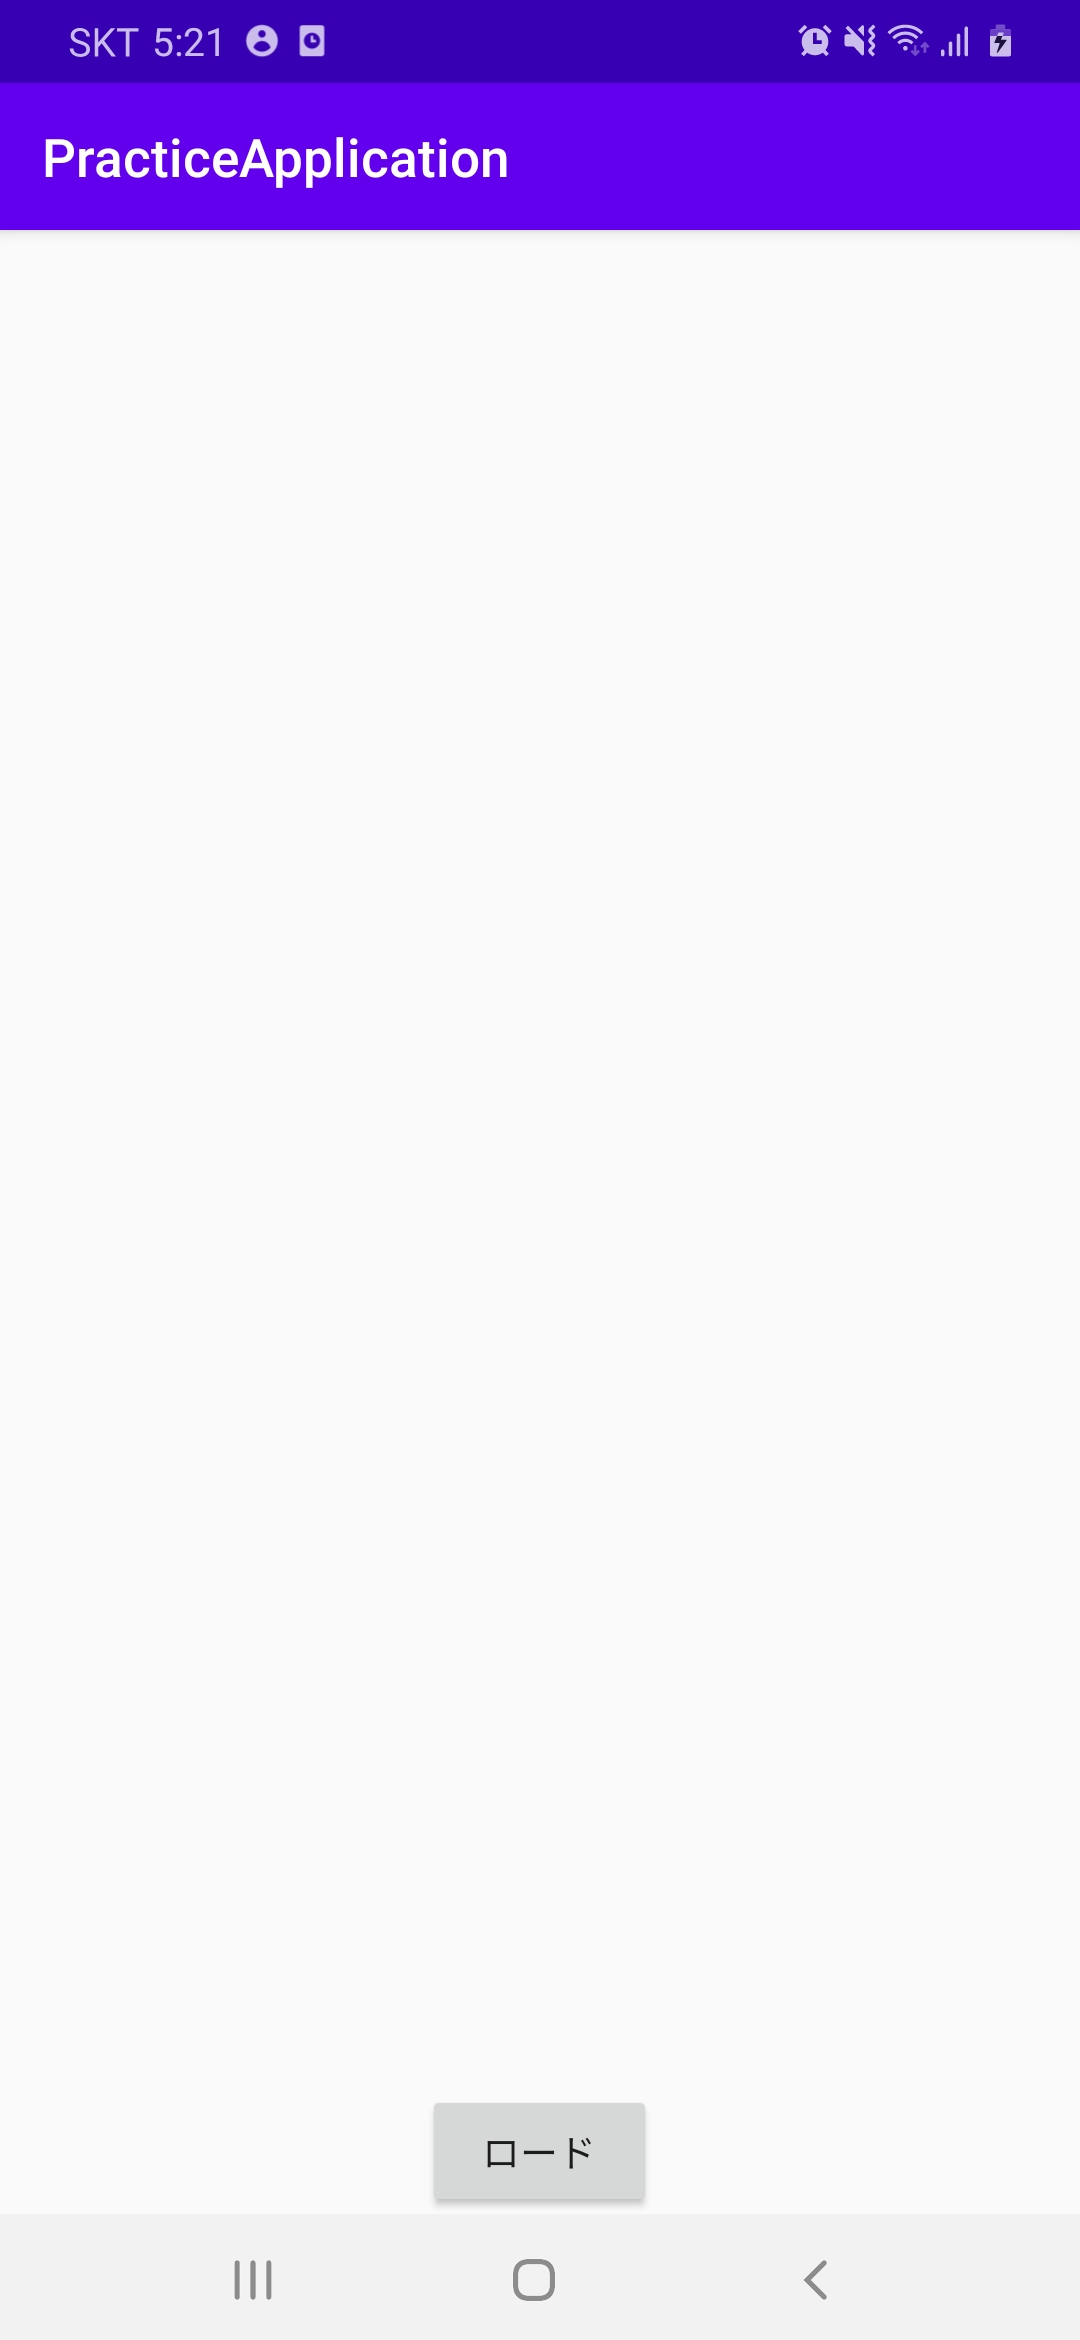
・初期の画面

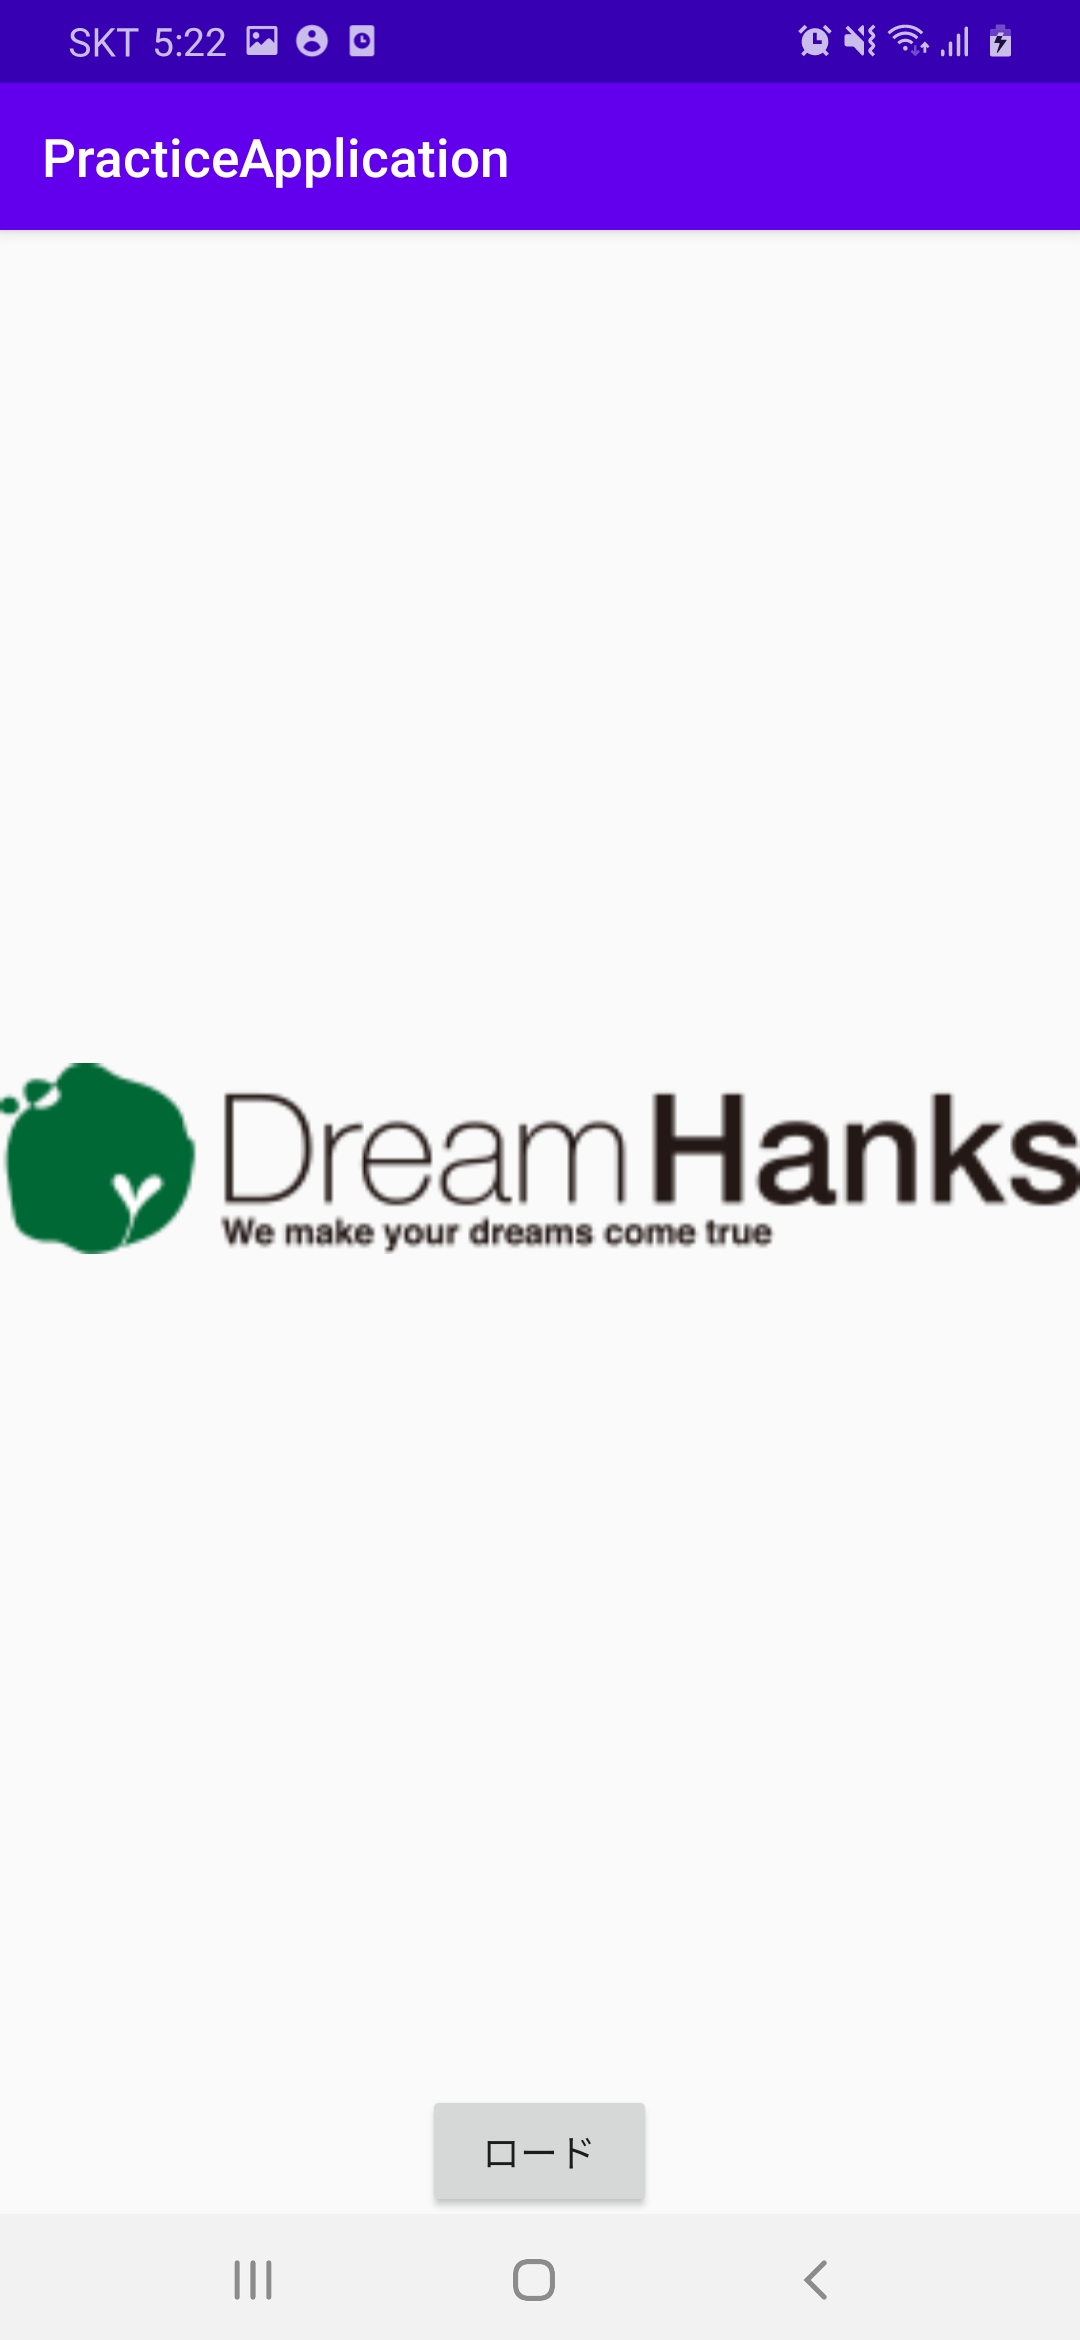
・ロードボタンをクリックした場合

終わりに
今回はGlideというライブラリについて説明しました。
次回はPicassoについて説明していきます。


コメント